
Are you interested in creating your own scented candles at home? With a candle making kit Australia, you can easily embark on this delightful craft and fill your home with beautiful aromas. In this article, we will explore the basics of candle making, the importance of using quality candle making kits, the different types of wax available, and tips for choosing the right scents. We will also provide a step-by-step guide on how to make scented candles, troubleshoot common problems that may arise, and offer suggestions for packaging and storing your homemade creations.
Understanding the Basics of Candle Making
Before diving into the world of candle making, it’s important to familiarize yourself with the basics. Candle making is a combination of art and science, requiring precision and creativity. By understanding the various components involved, you can create candles that burn beautifully and emit captivating scents.
Embarking on the journey of candle making can be a fulfilling and rewarding experience. Whether you’re looking to create a cozy atmosphere in your home or share handmade gifts with loved ones, a candle making kit Australia can be your gateway into this captivating craft. By following the basics, exploring different scents, troubleshooting common problems, and putting thoughtful packaging and storage practices into place, you’ll soon be able to sit back, relax, and enjoy the warm glow and delightful aroma of your very own scented candles.
Candle making has been around for centuries, with different cultures developing their own techniques and styles. From the ancient Egyptians using rushlights to the elaborate candle designs of the Victorian era, candles have always held a special place in human history. Today, candle making has evolved into a popular hobby and even a small business for many enthusiasts.
The Importance of Quality Candle Making Kits
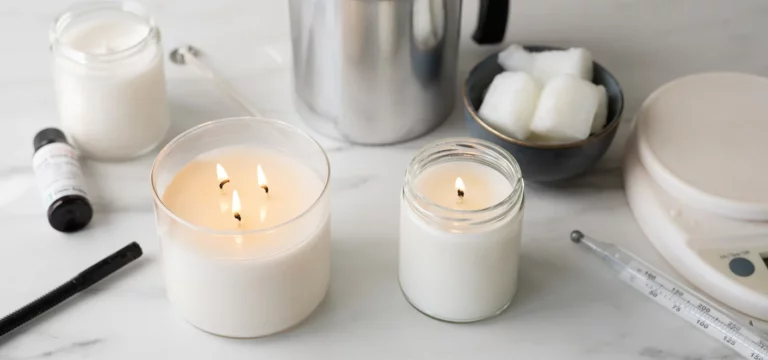
When starting out with candle making, it’s crucial to invest in a high-quality candle making kit. These kits typically include all the necessary materials, such as wax, wicks, fragrance oils, and containers. By using a reliable kit, you can ensure consistent results and minimize the risk of accidents.
Quality candle making kits not only provide the essential materials but also often come with detailed instructions and tips for beginners. This guidance can help you navigate the candle making process with confidence, ensuring that your creations turn out just the way you envision them. Additionally, investing in a good kit can save you time and money in the long run by preventing common mistakes and ensuring that you have everything you need in one convenient package.
Different Types of Wax for Candle Making
There are several types of wax commonly used in candle making, including soy wax, paraffin wax, and beeswax. Each type has its own unique characteristics, such as burn time, scent throw, and appearance. By experimenting with different types of wax, you can discover your preferred choice for creating the perfect candles.
Soy wax, for example, is a popular choice for environmentally conscious candle makers due to its renewable and biodegradable nature. On the other hand, paraffin wax is known for its excellent scent throw and ability to hold color well, making it a favorite for scented candles. Beeswax, with its natural honey scent and clean burn, is prized for its purity and elegance in candle making. Understanding the properties of each type of wax can help you choose the best option for your desired candle outcomes.

Choosing Your Scent: Essential Oils vs Fragrance Oils
One of the most exciting aspects of candle making is selecting the scents that will fill your space. When it comes to choosing between essential oils and fragrance oils, both options have their advantages. Essential oils offer a natural, aromatherapeutic experience, while fragrance oils provide a wider range of scent options.
Delving deeper into the world of essential oils, it’s fascinating to learn that these oils are extracted from plants through methods like distillation or cold pressing. Each essential oil carries a unique set of properties that can not only scent your candles but also offer potential therapeutic benefits. For example, eucalyptus essential oil is known for its invigorating scent and potential respiratory benefits, making it a popular choice for candles meant to promote a sense of vitality and clarity.
Popular Scents for Homemade Candles
When deciding on scents for your homemade candles, it’s helpful to consider popular choices that are well-loved by many. Some classic options include lavender for relaxation, vanilla for warmth and comfort, and citrus for a refreshing atmosphere. Ultimately, the choice of scent is a personal preference that reflects your unique taste and desired ambiance.
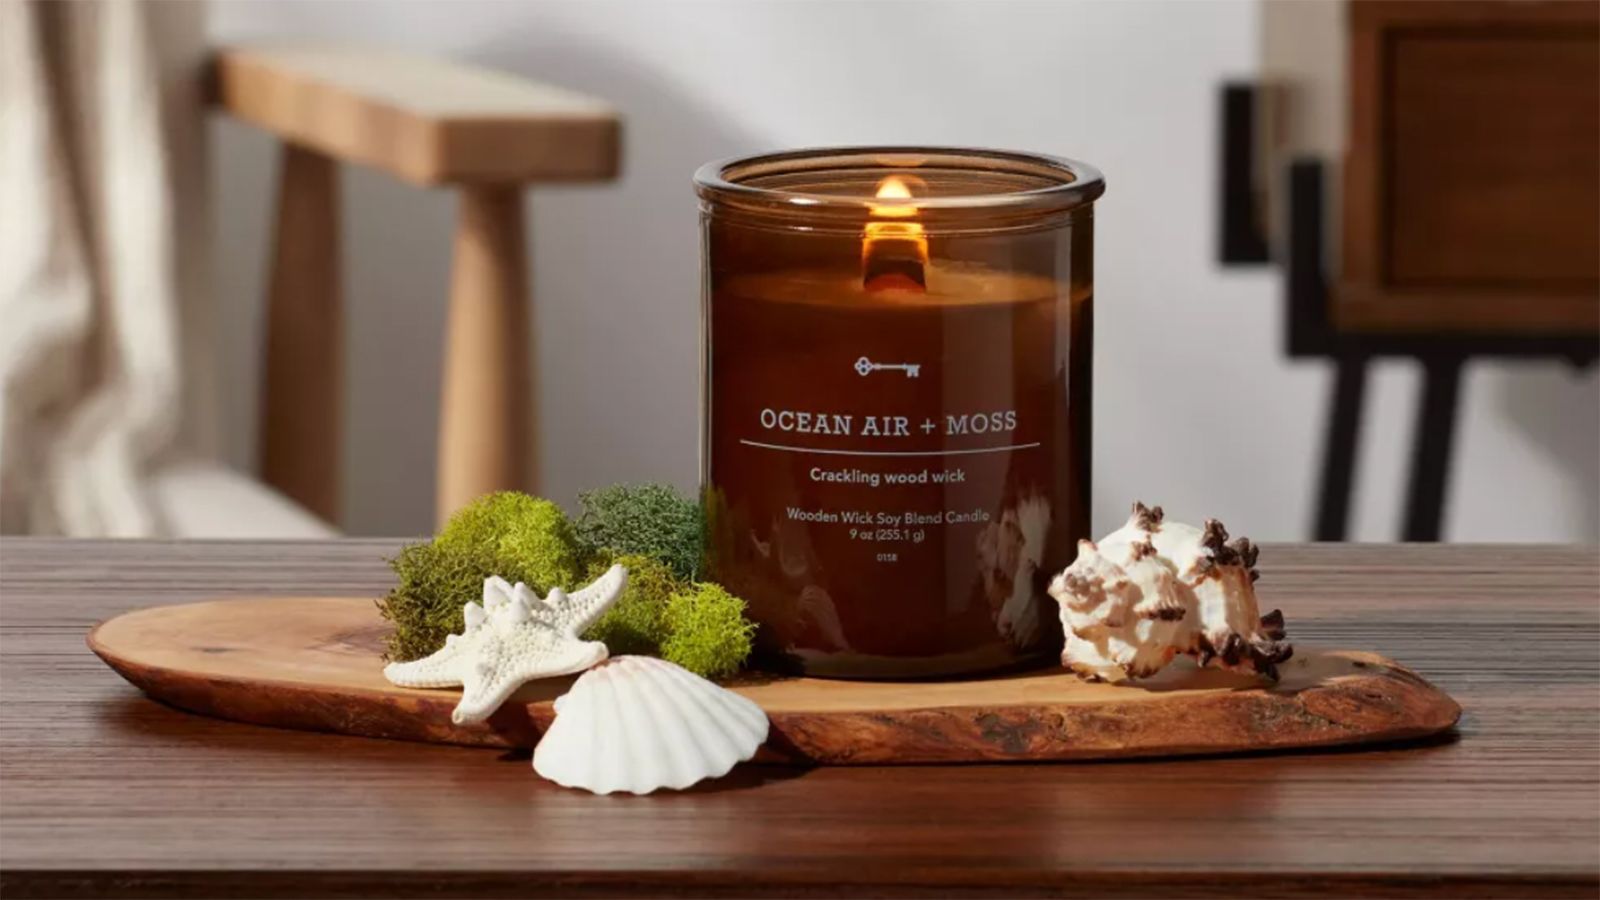
Exploring the realm of fragrance oils opens up a vast array of possibilities for creating signature scents that may not be achievable with essential oils alone. Fragrance oils are meticulously crafted in laboratories to replicate familiar scents like freshly baked cookies, ocean breezes, or even leather-bound books. These oils offer consistency in scent and are often favored for their wide range of options, allowing candle makers to experiment with creative blends and unique fragrances that cater to diverse preferences. Learn more about leather at https://www.leffler.com.au/
Safety Tips When Working with Essential Oils
While essential oils can elevate the sensory experience of your candles, it’s essential to handle them with care. Some essential oils are highly concentrated and may cause skin irritation or allergic reactions. It’s crucial to follow safety guidelines, such as diluting oils properly and wearing protective gear when necessary, to ensure a safe and enjoyable candle making process.
Additionally, it’s important to note that certain essential oils are not recommended for use around pets or during pregnancy due to their potency and potential effects. Researching the properties of each essential oil before incorporating them into your candle-making process can help you make informed decisions and create a safe environment for yourself and those around you.
Step-by-Step Guide to Making Scented Candles
Now that you have a good understanding of the fundamentals, let’s dive into the step-by-step process of making scented candles using a candle making kit Australia.
Creating your own scented candles can be a rewarding and enjoyable craft that allows you to customize the scents and aesthetics of your living space. Whether you’re a seasoned candle maker or a beginner looking to explore a new hobby, the process of making scented candles can be both relaxing and creatively fulfilling.
Preparing Your Workspace
Before you begin, designate a clean and well-ventilated workspace for your candle making endeavors. Having a dedicated space for your candle making not only helps in organization but also ensures a safe environment for working with hot wax and fragrances. Consider laying down protective coverings on surfaces to catch any spills and make cleanup easier after you’re done.
Additionally, creating a cozy ambiance in your workspace with some calming music or lighting can enhance your candle making experience. This can help you get into a creative mindset and make the process even more enjoyable.
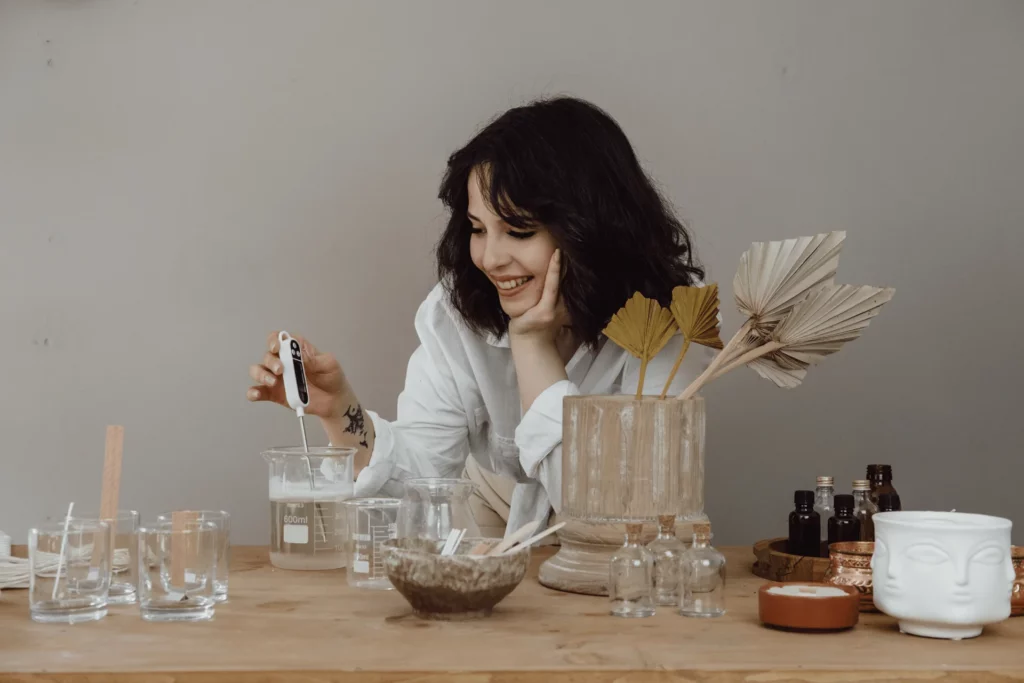
Melting the Wax and Adding the Scent
Start by melting the wax according to the instructions provided in your kit. The melting point and duration can vary depending on the type of wax you’re using, so it’s essential to follow the guidelines to achieve the best results. As the wax melts, take in the soothing aroma that begins to fill the air, creating a sensory experience that sets the mood for your scented candle creation.
When it comes to adding the scent, this is where you can get creative and experiment with different combinations. Essential oils offer natural fragrances, while fragrance oils provide a wide range of scents to choose from. Take your time to mix in the scent properly, ensuring that it is evenly distributed throughout the wax for a consistent and long-lasting fragrance.
Pouring the Wax and Setting the Wick
With your scented wax mixture ready, it’s time to pour it into your chosen candle containers. The pouring process requires a steady hand to avoid spills and ensure that each candle is filled evenly. Watching the liquid wax flow into the containers can be mesmerizing, almost like creating a work of art in slow motion.
Setting the wick is a crucial step in candle making to ensure that it burns properly and evenly. The wick should be centered in the container and held in place while the wax solidifies around it. This not only helps in the aesthetics of the candle but also in its functionality, providing a clean and consistent burn each time you light it. To learn about solidifies click here.
Troubleshooting Common Candle Making Problems
Even with careful preparation, candle making can sometimes present challenges. However, there are solutions to common problems that may arise along the way.
Why Is My Candle Cracking?
If you find that your candles are cracking after they have solidified, it may be due to the wax cooling too quickly. To prevent this, try insulating the containers with a towel or blanket while they cool. Additionally, ensure that the room temperature is not too cold, as extreme temperature changes can affect the quality of your candles.
Another factor that can contribute to candle cracking is the type of wax being used. Some waxes are more prone to cracking than others, so consider experimenting with different types to see which one works best for your specific candle making process. Additionally, adding a small amount of stearic acid to your wax can help reduce the chances of cracking, as it strengthens the wax and improves its overall structure.
How to Fix a Tunneling Candle
Tunneling refers to the phenomenon where a candle burns straight down in a narrow tunnel, leaving a significant amount of unused wax along the sides. To prevent this, it’s important to allow your candles to burn for an appropriate amount of time during the initial lighting. This will ensure that the wax pools evenly and minimizes the risk of tunneling.
Furthermore, the size of the wick used in your candles can also impact the likelihood of tunneling. If the wick is too small, it may not create a sufficient heat pool to melt the wax evenly, leading to tunneling. Experimenting with different wick sizes and types can help you find the right balance for optimal burning and wax consumption in your candles.
Tips for Packaging and Storing Your Homemade Candles
Once your candles have been crafted to perfection, it’s time to think about packaging and storing them in a way that preserves their quality and enhances their visual appeal.
Creative Packaging Ideas for Your Candles
Consider packaging your homemade candles in a way that showcases your creativity and personal style. This could include using decorative boxes or jars, tying ribbons, or attaching personalized labels. By packaging your candles thoughtfully, you can create a memorable and aesthetically pleasing gift or decorative item.
Best Practices for Candle Storage
To ensure the longevity of your homemade candles, it’s crucial to store them properly. Keep them away from direct sunlight and extreme temperature fluctuations, as these can cause discoloration and affect their scent. Additionally, store candles in a cool, dry place where they won’t be exposed to dust or debris, ensuring they remain in pristine condition until ready for use.
Learn more about candles making equipments at: The Ultimate Guide to Candle Making Equipment Australia